- LCD connector is mirrored, but it could be fixed by using wires and rotating it by 90 degrees. I had to do some framebuffer and software rotating because there's not hardware support for drawing data upside down. But now I see that this layout of LCD is more suitable because the visible area of LCD is starting right of the top of the device.
- Accelerometer's footprint has smaller pin pitch :( So no accelerometer on these boards :( The good news is that the soldering of this package it's not so hard as I thought. The only thing you have to do is prepare some sort of heat holes under the chip to the opposite side of the PCB.
- Ordered 2,5V step-down DC/DC converter instead of 3.3 V, so I had to do some voltage divider circuit, but fixed :)
- There's some Errata in the RTC of the LM3S5632 so I had to route wire from external crystal also to the RTC clock input, this could count seconds but I have no idea how precise this will be.
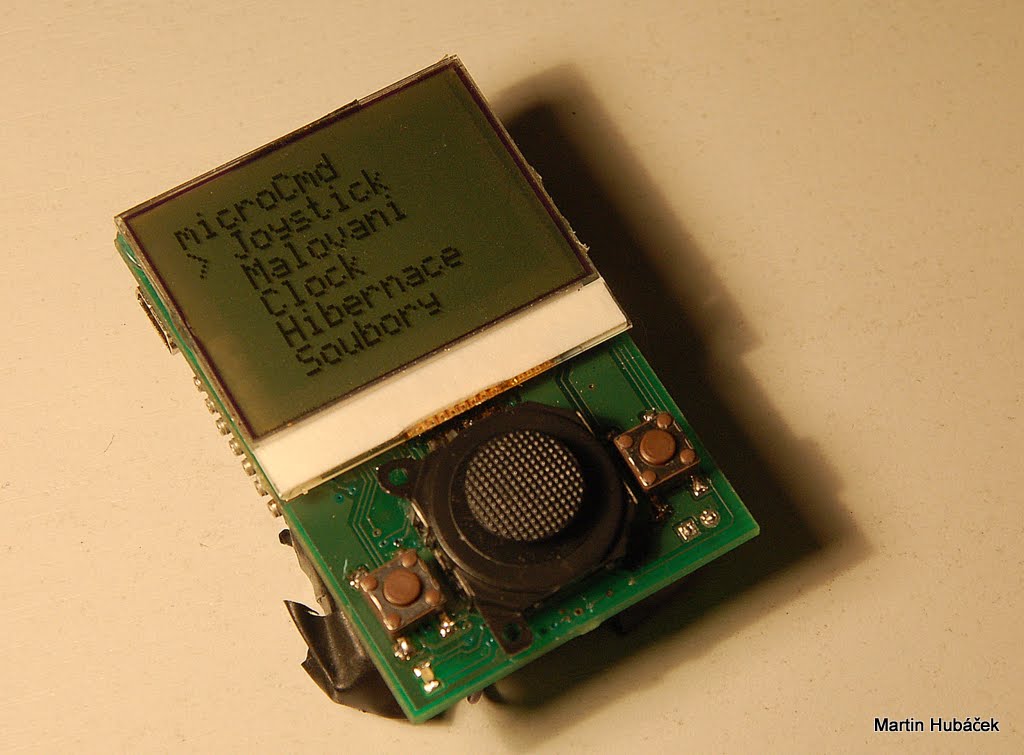
- LCD with frame buffer & Joystick
- Deep Sleep mode - consumption it's not perfect but I can live with 4mA right now.
- Access to SD card
More pictures in the gallery

No comments:
Post a Comment